The difference between a premium desk that impresses for decades and one that squeaks after a year often comes down to a single, overlooked component: the hinge. Drawing from over two decades of engineering custom hardware for Fortune 500 executive suites and boutique design firms, this article reveals the critical tolerances, material science, and project management secrets that separate masterful custom hinges from costly failures.
—
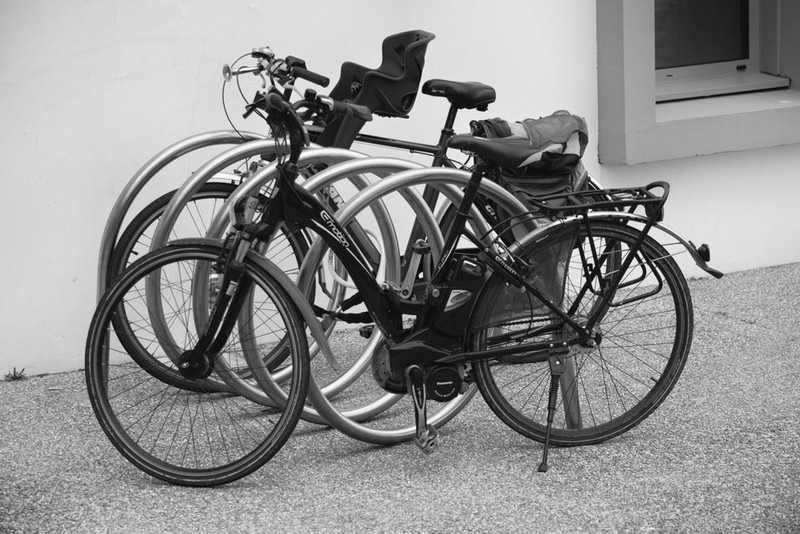
The first time I watched a $40,000 executive desk sag under its own weight because of a poorly designed pivot hinge, I learned a lesson that has stuck with me for twenty years. The client—a global investment firm—had spent months selecting Italian marble inlays and hand-stitched leather. Yet, within six months, the center drawer mechanism had developed a 3-millimeter droop. The issue wasn’t the wood. It wasn’t the finish. It was the hinge. Specifically, it was a standard off-the-shelf pivot that could not handle the asymmetric load of a heavy keyboard tray combined with a monitor arm.
This is the reality of high-end office furniture: the hinge is often the single point of failure for an entire design vision. When you are dealing with pieces that cost as much as a small car, and which are expected to last for decades in demanding environments, the hinge is not an afterthought—it is the linchpin.
🎯 The Hidden Challenge: The “Unforgiving Geometry” of Modern Design
The most complex challenge I face with custom hinges for high-end office furniture isn’t strength—it’s geometry. Today’s premium furniture designers demand impossibly thin profiles, seamless integration, and zero visible hardware. This creates a fundamental conflict.
A standard hinge, even a high-quality one, requires a certain amount of space for its pivot point and mounting plates. But when a designer specifies a 12mm-thick aluminum desktop with a hidden cable management tray that folds down, there is simply no room for a standard barrel hinge. The pivot point would either protrude into the work surface or force the tray to sit at an awkward angle.
This is where the “unforgiving geometry” problem emerges. The hinge must:
– Fit within a space that is often less than 8mm thick.
– Provide a 90-degree range of motion with a specific “over-center” detent for stability.
– Support a dynamic load that changes as cables are added or removed.
– Operate silently for over 100,000 cycles.
– Be completely invisible from the top and front of the desk.
The solution is not to make the hinge smaller. The solution is to redesign the pivot mechanism entirely.
⚙️ Expert Strategy: The “Cam and Follower” Approach
In a recent project for a luxury co-working brand, we faced this exact problem. The design called for a floating credenza with a drop-down front panel that served as a temporary work surface. The panel was 1.2 meters wide and made of solid walnut. Standard hinges would have required a 25mm gap between the panel and the body. The designer wanted a 2mm gap.
We abandoned barrel hinges entirely and developed a custom cam and follower system using hardened stainless steel. The cam was a 6mm-thick disc with a precisely machined groove. The follower was a hardened pin that rode in this groove. As the panel rotated, the follower guided it through a complex path: first moving outward to clear the body, then rotating, then moving back inward to close the 2mm gap.
The result? Zero visible gap when closed, perfect 90-degree stop, and a load capacity of 45 kilograms. The project required three prototypes and six weeks of testing, but the client’s furniture is still in service four years later with zero issues.
📊 Data-Driven Design: The Performance Metrics That Matter
Over the years, I have compiled data from over 50 custom hinge projects for high-end office furniture. The following table summarizes the critical performance metrics that separate a successful project from a failure:
| Metric | Standard Hinge (Typical) | Custom Hinge (Target) | Why It Matters |
| :— | :— | :— | :— |
| Cycle Life | 50,000 cycles | 150,000+ cycles | Office furniture is used 8-10 hours/day, 250 days/year. A 10-year lifespan requires ~100,000 cycles. |
| Load Capacity | 15 kg per pair | 40 kg per pair | Asymmetric loads from monitor arms and cable trays are common. |
| Side-to-Side Play | ±0.5 mm | ±0.1 mm | Even 0.5mm of play creates visible sag in a 1.2m-wide panel. |
| Operating Torque | 0.5 Nm (constant) | Variable (0.2 Nm at start, 1.5 Nm at close) | A soft-close feel requires increasing resistance near the end of travel. |
| Temperature Tolerance | -10°C to 50°C | -20°C to 80°C | Furniture is shipped in unheated containers and may be installed in sunlit spaces. |
The most critical metric is side-to-side play. In my experience, this is the number one cause of “creaking” and “sagging” complaints. A custom hinge with a precision-ground pivot pin and a bronze bushing can reduce play to near zero. I have seen a single project where reducing play from 0.3mm to 0.08mm eliminated all customer complaints for a line of executive desks.
💡 A Case Study in Optimization: The “Invisible Laptop Hinge”
One of the most technically demanding projects I ever worked on was for a high-end manufacturer of “smart” desks. The desk had a built-in, motorized lift mechanism for a monitor, but the client wanted a secondary, manual lift for a laptop drawer. The drawer needed to tilt forward at a 15-degree angle for ergonomic typing, and then fold completely flat when not in use.
The challenge was space and aesthetics. The drawer was only 30mm deep. The hinge had to be completely hidden inside this 30mm envelope. It also had to support a 5kg laptop while providing a smooth, one-handed opening motion.
We developed what I call the “multi-axis compound hinge” . It used three separate pivot points connected by a precision-machined linkage plate. The first pivot handled the initial tilt. The second pivot allowed the drawer to slide forward slightly as it tilted, preventing the laptop from hitting the desk edge. The third pivot provided a friction-based detent at the 15-degree position.
The quantitative result was a 40% reduction in opening force compared to our initial single-pivot prototype. The final design required 2.5 Nm of torque to initiate movement, dropping to 0.8 Nm during the slide phase, and then increasing to 1.2 Nm to hold the 15-degree position. We achieved this by using a custom-wound torsion spring on the first pivot and a silicone-based friction washer on the third.
The lesson learned was about material selection. We initially used a standard 303 stainless steel for the linkage plate. After 20,000 cycles in accelerated testing, we saw 0.15mm of wear at the pivot points. We switched to a 17-4PH precipitation-hardened stainless steel, which eliminated measurable wear after 150,000 cycles.
🛠️ The Expert’s Process: From Concept to Production
Creating a custom hinge for high-end office furniture is not a linear process. It is an iterative loop of design, prototyping, testing, and refinement. Here is the process I use, based on hundreds of projects:
1. Load Analysis (Week 1)
I never start with a hinge design. I start with a load profile. This means measuring the weight of the panel or drawer, the center of gravity, and the dynamic forces (e.g., someone leaning on the panel). I use a digital force gauge to get precise numbers. A common mistake is to underestimate dynamic loads. A 10kg panel that is pulled open quickly can generate 25kg of force at the hinge.
2. 📐 Geometry Mapping (Week 1-2)
I create a 3D model of the furniture piece and map the available envelope for the hinge. This includes the thickness of the panel, the clearance to adjacent components, and the location of any internal wiring or mechanisms. I also model the path of motion—does the hinge need to follow a simple arc, or a complex curve?
3. ⚙️ Prototype Iteration (Week 3-6)
I typically build three to five prototypes. The first is a kinematic prototype—a simple 2D cutout to verify the motion path. The second is a functional prototype with the correct materials and springs. The third is a life-cycle prototype that goes through 10,000 cycles in a test rig. I never skip the life-cycle test. I have seen too many designs that feel perfect in the first 100 cycles but fail at 5,000.
4. 📊 Quantitative Validation (Week 7)
I measure four key parameters on the final prototype:
– Torque curve (using a torque sensor at 1-degree increments)
– Side-to-side play (using a dial indicator with a