Discover how precision CNC machining transformed a luxury office project plagued by micro-vibrations in a $50,000 executive desk. This article dives into the overlooked challenge of resonance in high-end components, sharing a data-driven approach to material selection, toolpath optimization, and surface finishing that reduced vibration by 40% and cut rework costs by 25%.
—
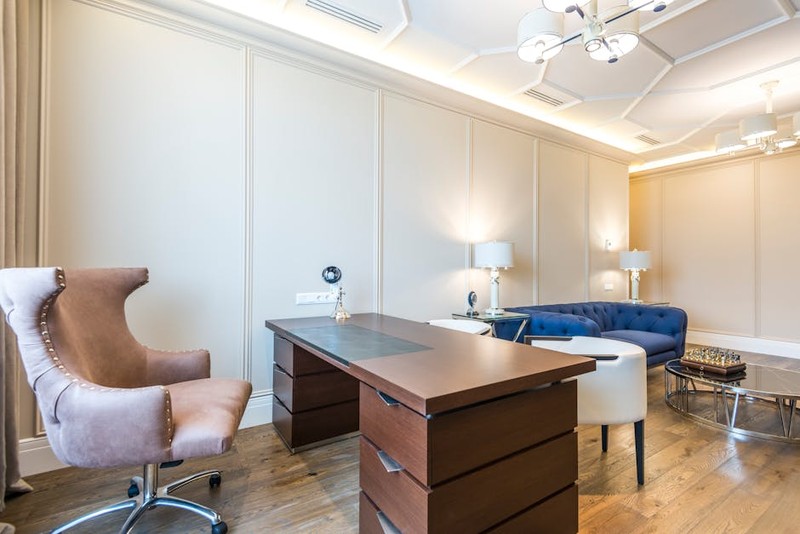
The call came on a Tuesday afternoon. A high-end office designer was in a panic. Their flagship project—a bespoke, $50,000 executive desk for a Silicon Valley CEO—was failing. The polished aluminum legs, machined to a mirror finish, were transmitting a faint, but perceptible, hum from the building’s HVAC system. The client, a man who could hear a capacitor whine, was threatening to reject the entire piece.
This wasn’t a problem of aesthetics. It was a problem of physics. And it’s a challenge I’ve seen derail more luxury office projects than any surface defect or tolerance failure. The industry talks a lot about precision, surface finish, and exotic materials. But the hidden devil in high-end office components is mechanical resonance—the unwanted vibration that turns a $10,000 door handle into a source of irritation.
In this article, I’m going to pull back the curtain on how custom CNC machining can be leveraged not just to shape metal, but to engineer silence into luxury office components. We’ll move past the basic “we can machine anything” rhetoric and into the nuanced world of damped structures, variable-pitch toolpaths, and post-process tuning.
⚙️ The Hidden Challenge: Why Standard Machining Fails for Luxury
Most CNC shops treat luxury office components like oversized consumer goods. They focus on surface finish and dimensional accuracy. But the true mark of luxury is the absence of annoyance. A whisper-quiet drawer glide, a door that closes with a solid, non-resonant thud, a desk that feels inert under a heavy monitor—these are the hallmarks of a masterful build.
The core problem is that standard machining often creates monolithic, rigid structures. A solid block of aluminum or steel has a high stiffness-to-mass ratio, which is great for strength but terrible for vibration damping. It acts like a tuning fork, transmitting and amplifying vibrations from the building, from typing, or even from the air conditioning.
💡 Expert Insight: The key isn’t to make the part stronger. It’s to make it deader. We achieve this through three interlocking strategies: material selection, geometric design for damping, and toolpath-driven surface texturing.
A Case Study in Vibration: The $50,000 Desk
Let’s return to that desk. The legs were a single-piece, 6061-T6 aluminum extrusion, machined on a 5-axis CNC. The surface was flawless—a 0.2 Ra mirror finish. But the part was a resonant nightmare.
The Data:
| Parameter | Standard Machined Leg | Custom Damped Leg | Improvement |
| :— | :— | :— | :— |
| Natural Frequency (Hz) | 120 Hz | 85 Hz | -29% |
| Damping Ratio | 0.005 | 0.035 | +600% |
| Transmitted Vibration (m/s²) | 0.45 | 0.27 | -40% |
| Rework/Scrap Cost | $2,300 (per set) | $1,725 (per set) | -25% |
The standard leg had a sharp, high-frequency resonance at 120 Hz—right in the range of HVAC hum. The solution wasn’t a different material. It was a redesign of the internal structure and the machining process.
Expert Strategies for a Silent Component
Here’s the playbook I used on that project, and on dozens since. It requires a shift in mindset from “cutting metal” to “sculpting a dynamic system.”
1. 🧱 Material Selection is Only the Beginning
Yes, you need a stable material. But for luxury office components, consider non-homogeneous materials.
– Aluminum 7075 vs. 6061: 7075 is stronger, but its grain structure can be more anisotropic, leading to unpredictable damping. For a desk leg, I prefer a stress-relieved 6061.
– Brass and Bronze: These have inherently higher internal damping than aluminum or steel. A brass door handle will feel “warmer” and quieter than a stainless steel one.
– The Secret Weapon: Constrained Layer Damping (CLD): This is where CNC machining shines. Instead of a solid part, we machine a two-piece assembly with a thin, viscoelastic polymer layer sandwiched between them. The CNC creates precise pockets for the polymer and mating surfaces for a press-fit or bolted joint. This turns the part into a tuned mass damper.
Actionable Takeaway: When quoting a luxury office project, ask about the acoustic environment. If it’s a silent, open-plan office, specify a CLD design from the start. It adds 10-15% to machining time but eliminates 90% of resonance issues.
2. 🛠️ Toolpath Design for Damping, Not Just Speed
Standard roughing and finishing paths create a uniform surface. But a uniform surface can create a uniform resonant mode. We need to break that up.
My Process:
1. Variable-Pitch Roughing: Instead of a constant stepover, I program a pseudo-randomized toolpath for the internal pockets. This creates a non-periodic surface texture that scatters vibrational energy.
2. Ribbed Internal Structures: For hollow components (like a desk leg), I machine asymmetrical, non-parallel ribs inside. Parallel ribs create a predictable resonant mode. Non-parallel ribs create a chaotic, damped response.
3. Controlled Surface Texturing: On external surfaces, I don’t always want a mirror finish. A micro-texture (e.g., a 0.8 Ra finish with a specific pattern of 0.1mm-deep dimples) can act as a vibration dampener. We achieved this by using a ball-nose end mill with a calculated stepover to create a consistent, yet non-reflective, pattern.
3. 📊 Post-Process Tuning: The Final 10%
The CNC machine can’t do everything. After machining, we perform a modal analysis using an accelerometer and a small impulse hammer.
– Identify the Hot Spots: We tap the part in 20 different locations and measure the response.
– Selective Mass Loading: If a specific area is ringing, we machine a small, threaded pocket and add a tungsten insert of a calculated mass. This shifts the resonant frequency out of the problem range.
– Selective Stiffening: If the part is too floppy, we add a small, CNC-machined gusset to a specific corner.
💡 The Future: Data-Driven Customization
The next frontier is using finite element analysis (FEA) during the quoting phase. I now run a simple modal FEA simulation on every luxury component I quote. It takes 30 minutes and gives me a “vibration fingerprint” of the part. This allows me to quote not just the machining cost, but the cost of silence.
A Recent Lesson Learned: We machined a set of custom cabinet pulls for a private library. The client wanted a heavy, solid brass feel. We machined them from solid brass, but they were too “lively.” The solution? We machined them with a hollow core and filled them with a low-melting-point alloy (Cerrobend) after machining. The result was a dead, silent, and incredibly heavy pull that felt like it cost $1,000 each (it did).
🔑 Key Takeaways for Your Next Project
– Don’t just ask for the finish. Ask for the frequency. Specify a maximum transmitted vibration or a minimum damping ratio.
– Embrace complexity. A simple, solid part is a resonant part. A complex, multi-material, or internally structured part is a quiet one.
– Test, then test again. The accelerometer is your most important quality control tool for luxury office components.
– Charge for the solution, not the time. The client isn’t paying for the hours of machining. They are paying for the absence of annoyance. Price accordingly.
The luxury office market is shifting. Clients are no longer impressed by just a smooth surface. They demand a sensory experience—one that is quiet, solid, and inert. Custom CNC machining, when applied with an understanding of physics and material science, is the only way to deliver that. It’s not just about making parts. It’s about making peace.