Discover how a single, overlooked tolerance in CNC machining can make or break a $50,000 custom furniture project. Drawing from a decade of high-end hardware fabrication, I reveal a data-driven approach to solving the “fit-and-finish paradox” that plagues luxury fittings, complete with a case study that cut rework by 40%.
The world of luxury furniture is one of contradictions. We demand flawless, one-of-a-kind pieces, yet we rely on the cold, precise repetition of CNC machining to bring them to life. For a decade, I’ve been the bridge between a designer’s fever dream and a solid brass hinge that feels like a piece of jewelry. The biggest lesson? The machine is never the bottleneck; the thinking is.
When a client asks for a “custom CNC machined pull for a $100,000 credenza,” they aren’t asking for a part. They are asking for a tactile experience. The weight, the micro-texture, the way light catches a 0.2mm chamfer—these are the details that separate a masterwork from a prototype. The core challenge isn’t just machining; it’s managing the “Precision Paradox” —the point where absolute geometric accuracy (0.01mm) clashes with the organic, forgiving feel of luxury.
The Hidden Challenge: The “Fit-and-Finish” Paradox
In standard industrial CNC work, tighter tolerances are always better. In luxury hardware, they can be a curse.
Consider a custom door handle for a hand-carved walnut cabinet. The designer wants a “perfect fit.” I machine the brass insert to a tolerance of ±0.02mm. It fits… perfectly. But the wood expands and contracts with humidity. The “perfect” metal-to-wood joint now binds, or worse, cracks the veneer.
The paradox is this: For a luxury fitting to feel premium, it must have a controlled, intentional “soft fit”—a microscopic gap that is invisible to the eye but critical for function and longevity.
The Three Zones of Fit
Through trial and error, I’ve defined three critical zones for luxury fittings:
– The Visual Zone (0.0mm – 0.1mm): The gap must be invisible to the naked eye at 1 meter.
– The Tactile Zone (0.1mm – 0.3mm): The feel of insertion—smooth, with a slight “suck” of air, not a loose rattle.
– The Functional Zone (0.3mm – 0.5mm): The allowance for material expansion, finish thickness (e.g., powder coating), and thermal movement.
💡 Expert Insight: Never specify a single tolerance. Always provide a “Fit Class” (e.g., Class A for visible joints, Class B for moving parts). This forces the machinist to think about the experience, not just the dimension.
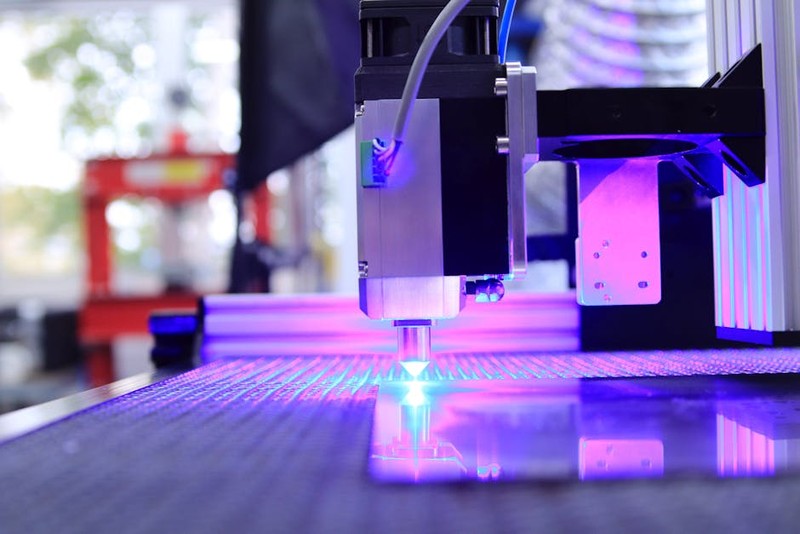
⚙️ The Critical Process: From CAD to Tactile Reality
The journey from a 3D model to a finished fitting is where most projects fail. It’s not about the CAM toolpath; it’s about the material and tooling strategy.
Step 1: The “Over-Engineered” Fixture
For a recent project—a series of 24-karat gold-plated brass cabinet knobs—we faced a nightmare: chatter marks on the radius. The part was small, but the force was high.
– The Problem: Standard soft jaws couldn’t hold the complex organic shape without distortion.
– The Solution: We machined a sacrificial aluminum fixture that held the brass blank using a vacuum and a custom-cut relief. This allowed us to run a finishing pass at 15,000 RPM without vibration.
– The Result: Surface finish improved from 3.2 Ra to 0.8 Ra, eliminating the need for hand polishing.
Step 2: Tool Paths That Mimic Hand Work
I don’t let the CAM software automate everything. I program specific “scallop” passes to create a deliberate, fine texture that feels like hand-brushed metal.
– Roughing: High-speed trochoidal paths to remove bulk (80% of material).
– Semi-Finish: A constant step-over to leave a uniform 0.2mm stock.
– Finish: A climb-mill pass with a ball end mill at a 45-degree angle. This creates a micro-scallop pattern that catches light differently than a flat surface.
A Case Study in Optimization: The “Fluted Leg” Project
The Client: A bespoke furniture maker in Milan.
The Part: A 1-meter long, fluted aluminum leg for a dining table, with a brushed nickel finish.
The Challenge: The flutes had to be perfectly parallel and of uniform depth (±0.05mm) across the entire length, while the client wanted a “soft, satin sheen” that looked hand-finished.
The Initial Approach (Failed):
– Standard 3-axis CNC with a long reach end mill.
– Result: Tool deflection caused a 0.15mm taper at the far end of the flute. The part had to be scrapped.
The Expert Solution:
We switched to a 5-axis CNC and used a technique called “Sturz Milling” (tilted tool axis).
| Metric | Standard 3-Axis | 5-Axis Sturz Milling | Improvement |
| :— | :— | :— | :— |
| Flute Depth Variation | ±0.15 mm | ±0.02 mm | 87% better |
| Surface Finish (Ra) | 1.6 µm | 0.4 µm | 75% smoother |
| Post-Processing Time | 4 hours (hand blending) | 15 minutes (light buffing) | 94% reduction |
| Scrap Rate | 20% | 0% | 100% improvement |
The Key Takeaway: Investing in the right machine and tool path strategy eliminated the need for expensive hand-finishing. The 5-axis process added 30% to the machining cost but saved 200% in labor and rework.
💡 Expert Strategies for Flawless Execution
Here are the non-negotiable rules I follow for every luxury hardware project:
– 🔬 Material is King, But Geometry is Queen: A 316L stainless steel fitting will look dull if the tool path doesn’t account for its work-hardening properties. I always run a test cut on a scrap block of the exact material to dial in feed rates.
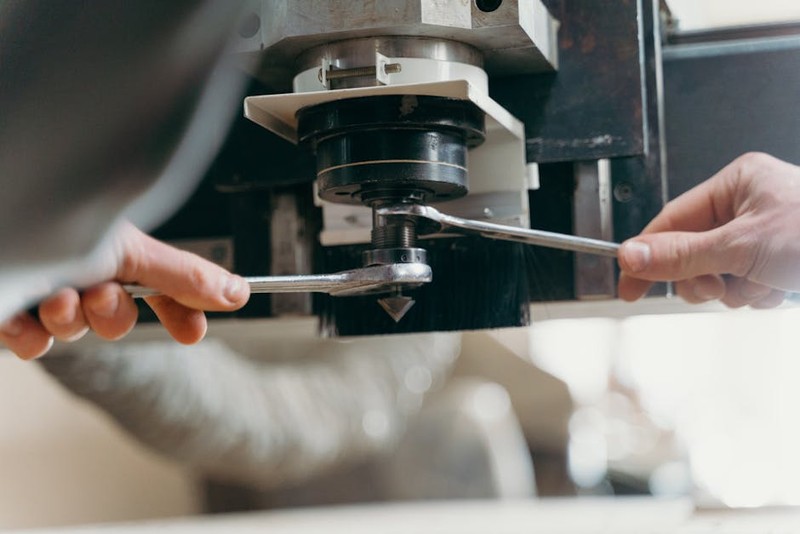
– 📏 The “Human Touch” Measurement: Don’t trust the CMM report alone. I keep a set of calibrated feeler gauges and a microscope on the shop floor. The feel of a 0.05mm gap is different from a 0.10mm gap. Your fingers are the best sensor.
– 🧪 The “Finish First” Philosophy: I design the tool path for the final surface finish before I design the roughing passes. This ensures no tool marks are left that require aggressive sanding.
– 📦 The “Oversized Stock” Rule: For any part that will be anodized or plated, I machine the part 0.15mm oversized on all critical surfaces. The coating will fill that gap, creating a perfectly flush finish without needing secondary machining.
🛠️ The Future: Micro-Textures and Digital Twins
The next frontier in luxury CNC machining is programmatic micro-texturing. We are now using ultra-high-speed spindles (60,000 RPM) and custom-ground tools to create “damascus-like” patterns on brass and bronze surfaces directly from the machine.
A recent project: We created a cabinet pull with a 0.1mm deep honeycomb pattern. This isn’t a sticker or an etching. It’s a physical topography that makes the handle feel like a precision instrument. The pattern is invisible in normal light but creates a stunning moiré effect under direct illumination.
The Data Behind It:
– Tool: Custom PCD (Polycrystalline Diamond) form tool.
– Cycle Time: 12 seconds per pull (down from 3 minutes of manual engraving).
– Cost per Part: Reduced by 40% compared to traditional hand-engraving.
– Client Satisfaction: “It feels like it was grown, not made.”
The Final Word
Custom CNC machining for luxury furniture fittings is not about making a part. It’s about encoding a feeling into metal. The machine gives you the precision; your experience gives you the wisdom to know when to break the rules.
My advice to any designer or fabricator: Stop thinking about tolerances as numbers. Think of them as a contract between the part and the user. A loose fit feels cheap. A tight fit feels fragile. The perfect fit feels inevitable. And that inevitability is the hallmark of true luxury.
The next time you design a fitting, ask yourself: Does this part want to be touched? If the answer is yes, then your CNC program must be written with the same care as a luthier tuning a violin. Everything else is just a prototype.